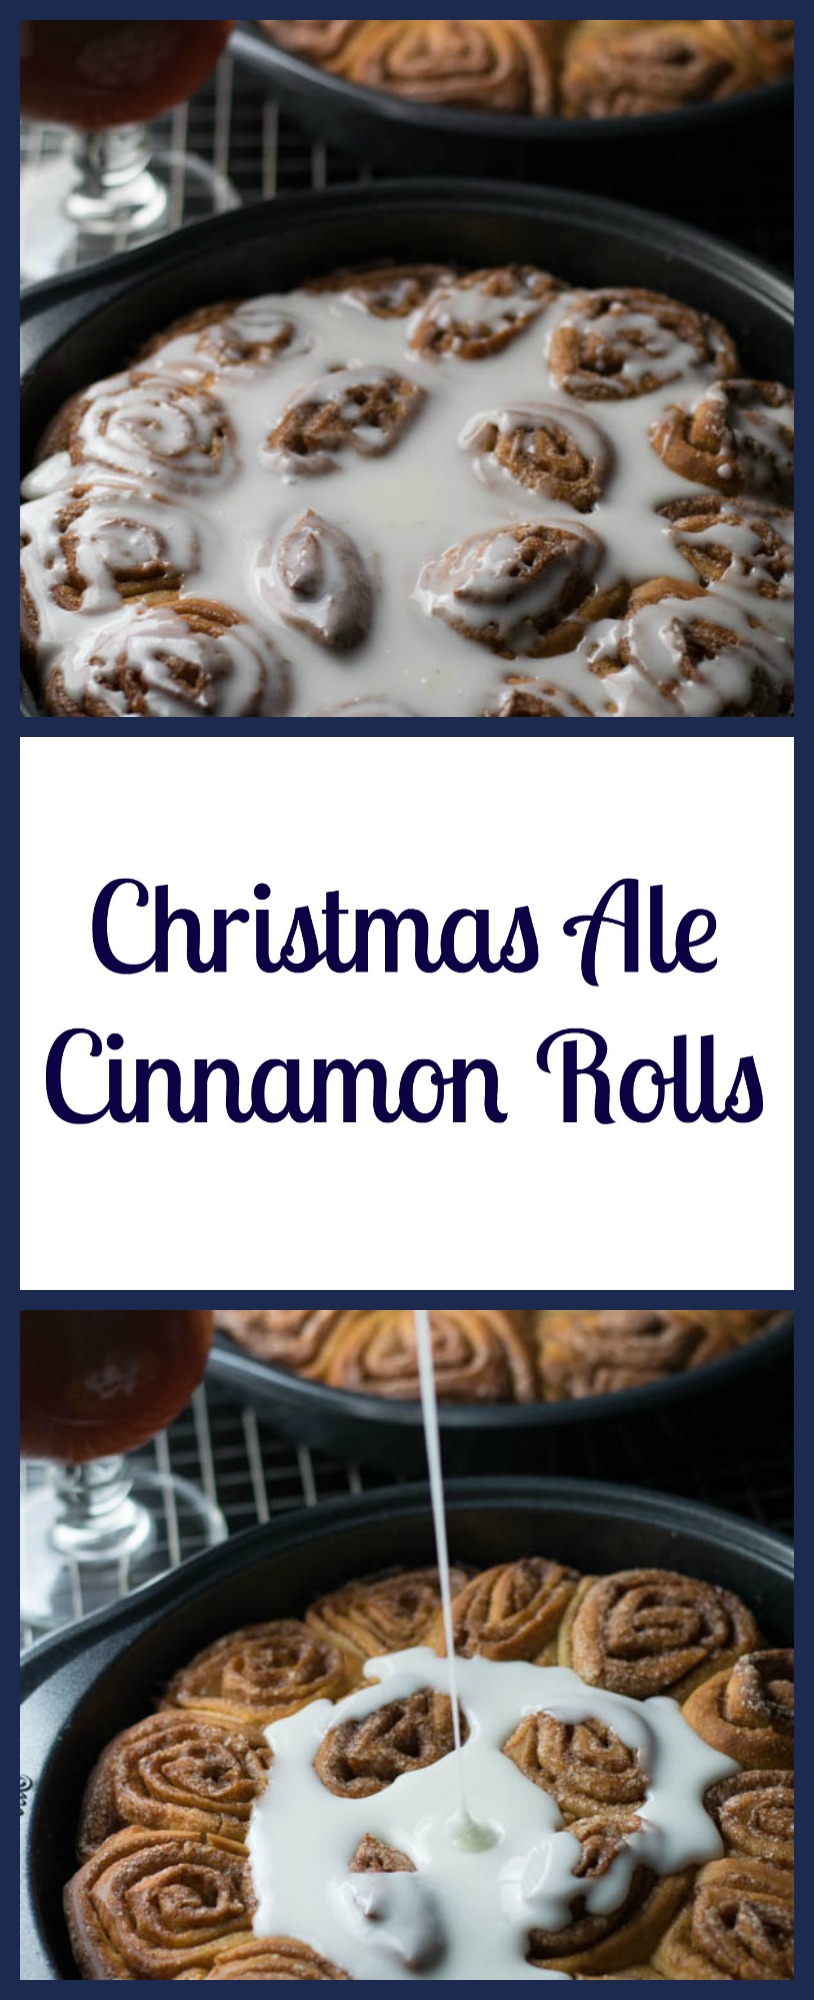
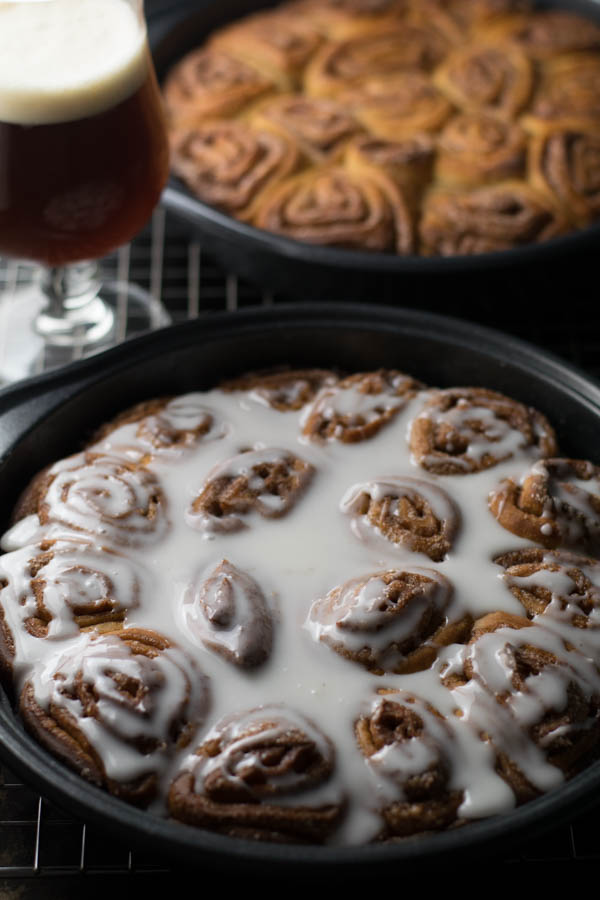
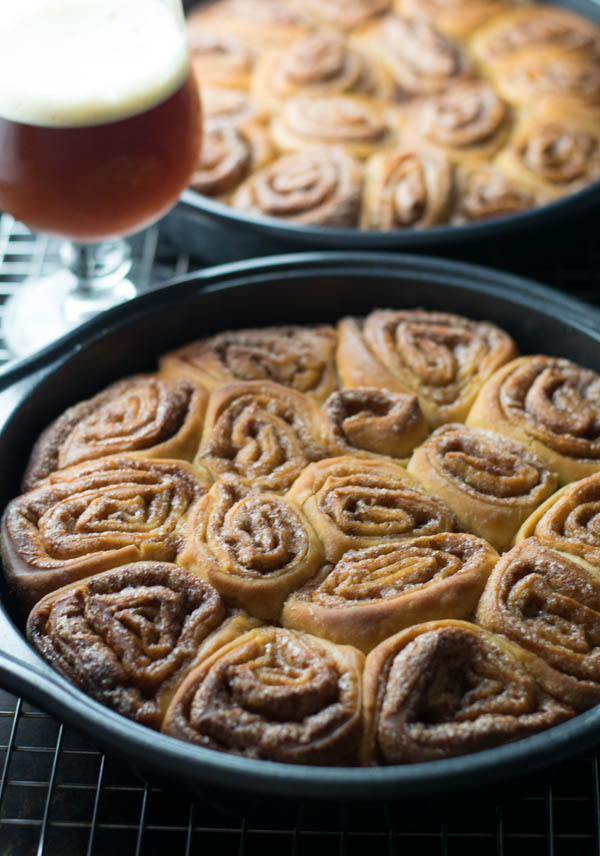
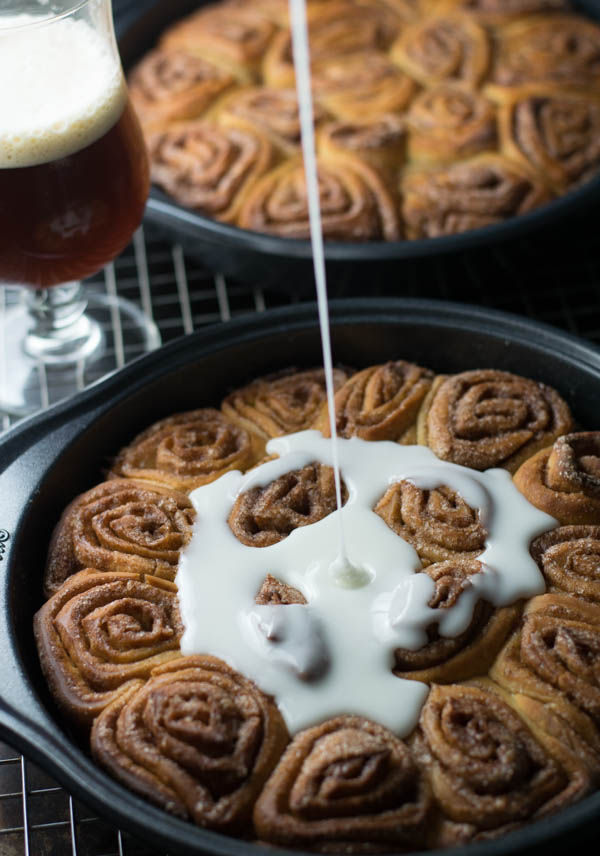
Christmas Ale Beer Cinnamon Rolls are a fun treat made from Christmas Ale full of cinnamon, nutmeg, cloves, and honey and a very vanilla bourbon finish.
We’ve been hitting the home brew Christmas Ale pretty hard over here lately.
While I do love to drink some Christmas Ale during the holidays, I especially have fun including it in recipes that really highlight what’s special about it.
Speaking of what’s special, it occurred to me the other day that I shared some Christmas Ale Caramels, but didn’t really elaborate on the details of my beer.

My Christmas Ale is a lightly hopped amber colored malty brew with notes of cinnamon, nutmeg, and a hint of clove. It’s very vanilla forward because when I add vanilla to my beer, I don’t mess around. Some people like an accent of vanilla, but I prefer to be smacked in the face with it. So I soaked a few vanilla beans in a Mason Jar full of bourbon and oak chips then added the whole thing to the beer when we kegged it.
I know.
So one of the first things I thought of that would highlight all things wonderful about this Christmas Ale is some cinnamon rolls.

I was right.
P.S. You can use any craft beer you want, but I’d try to stick to something with similar flavors. You’re always welcome to stop by and share some of mine!
Happy Holidays!
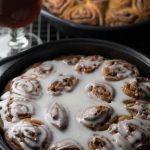
Christmas Ale Cinnamon Rolls
Ingredients
For the Dough
- 1/2 cup Christmas Ale
- 1/2 cup milk
- 1 stick butter plus another 1/2 tablespoon to coat 2 cake pans
- 1/2 cup sugar
- 2 eggs
- 2 packets active dry yeast
- 3 - 3 1/2 cups flour
For the Cinnamon Sugar
- 1/4 cup butter melted
- 1/2 cup sugar
- 2 tablespoons cinnamon
For the Glaze
- 2 cups powdered sugar
- 4 tablespoons milk
Instructions
-
Combine beer, milk, butter, sugar, and salt in a sauce pan and warm over low heat
-
Remove milk mixture from heat, add yeast, and set aside for 10 minutes
-
Add 2 cups of the flour to the bowl of a stand mixer fitted with a dough hook
-
Add milk mixture and eggs and turn mixer on low
-
Gradually add the rest of the flour and let the mixer knead it for another 8 - 10 minutes, until somewhat smooth and elastic
-
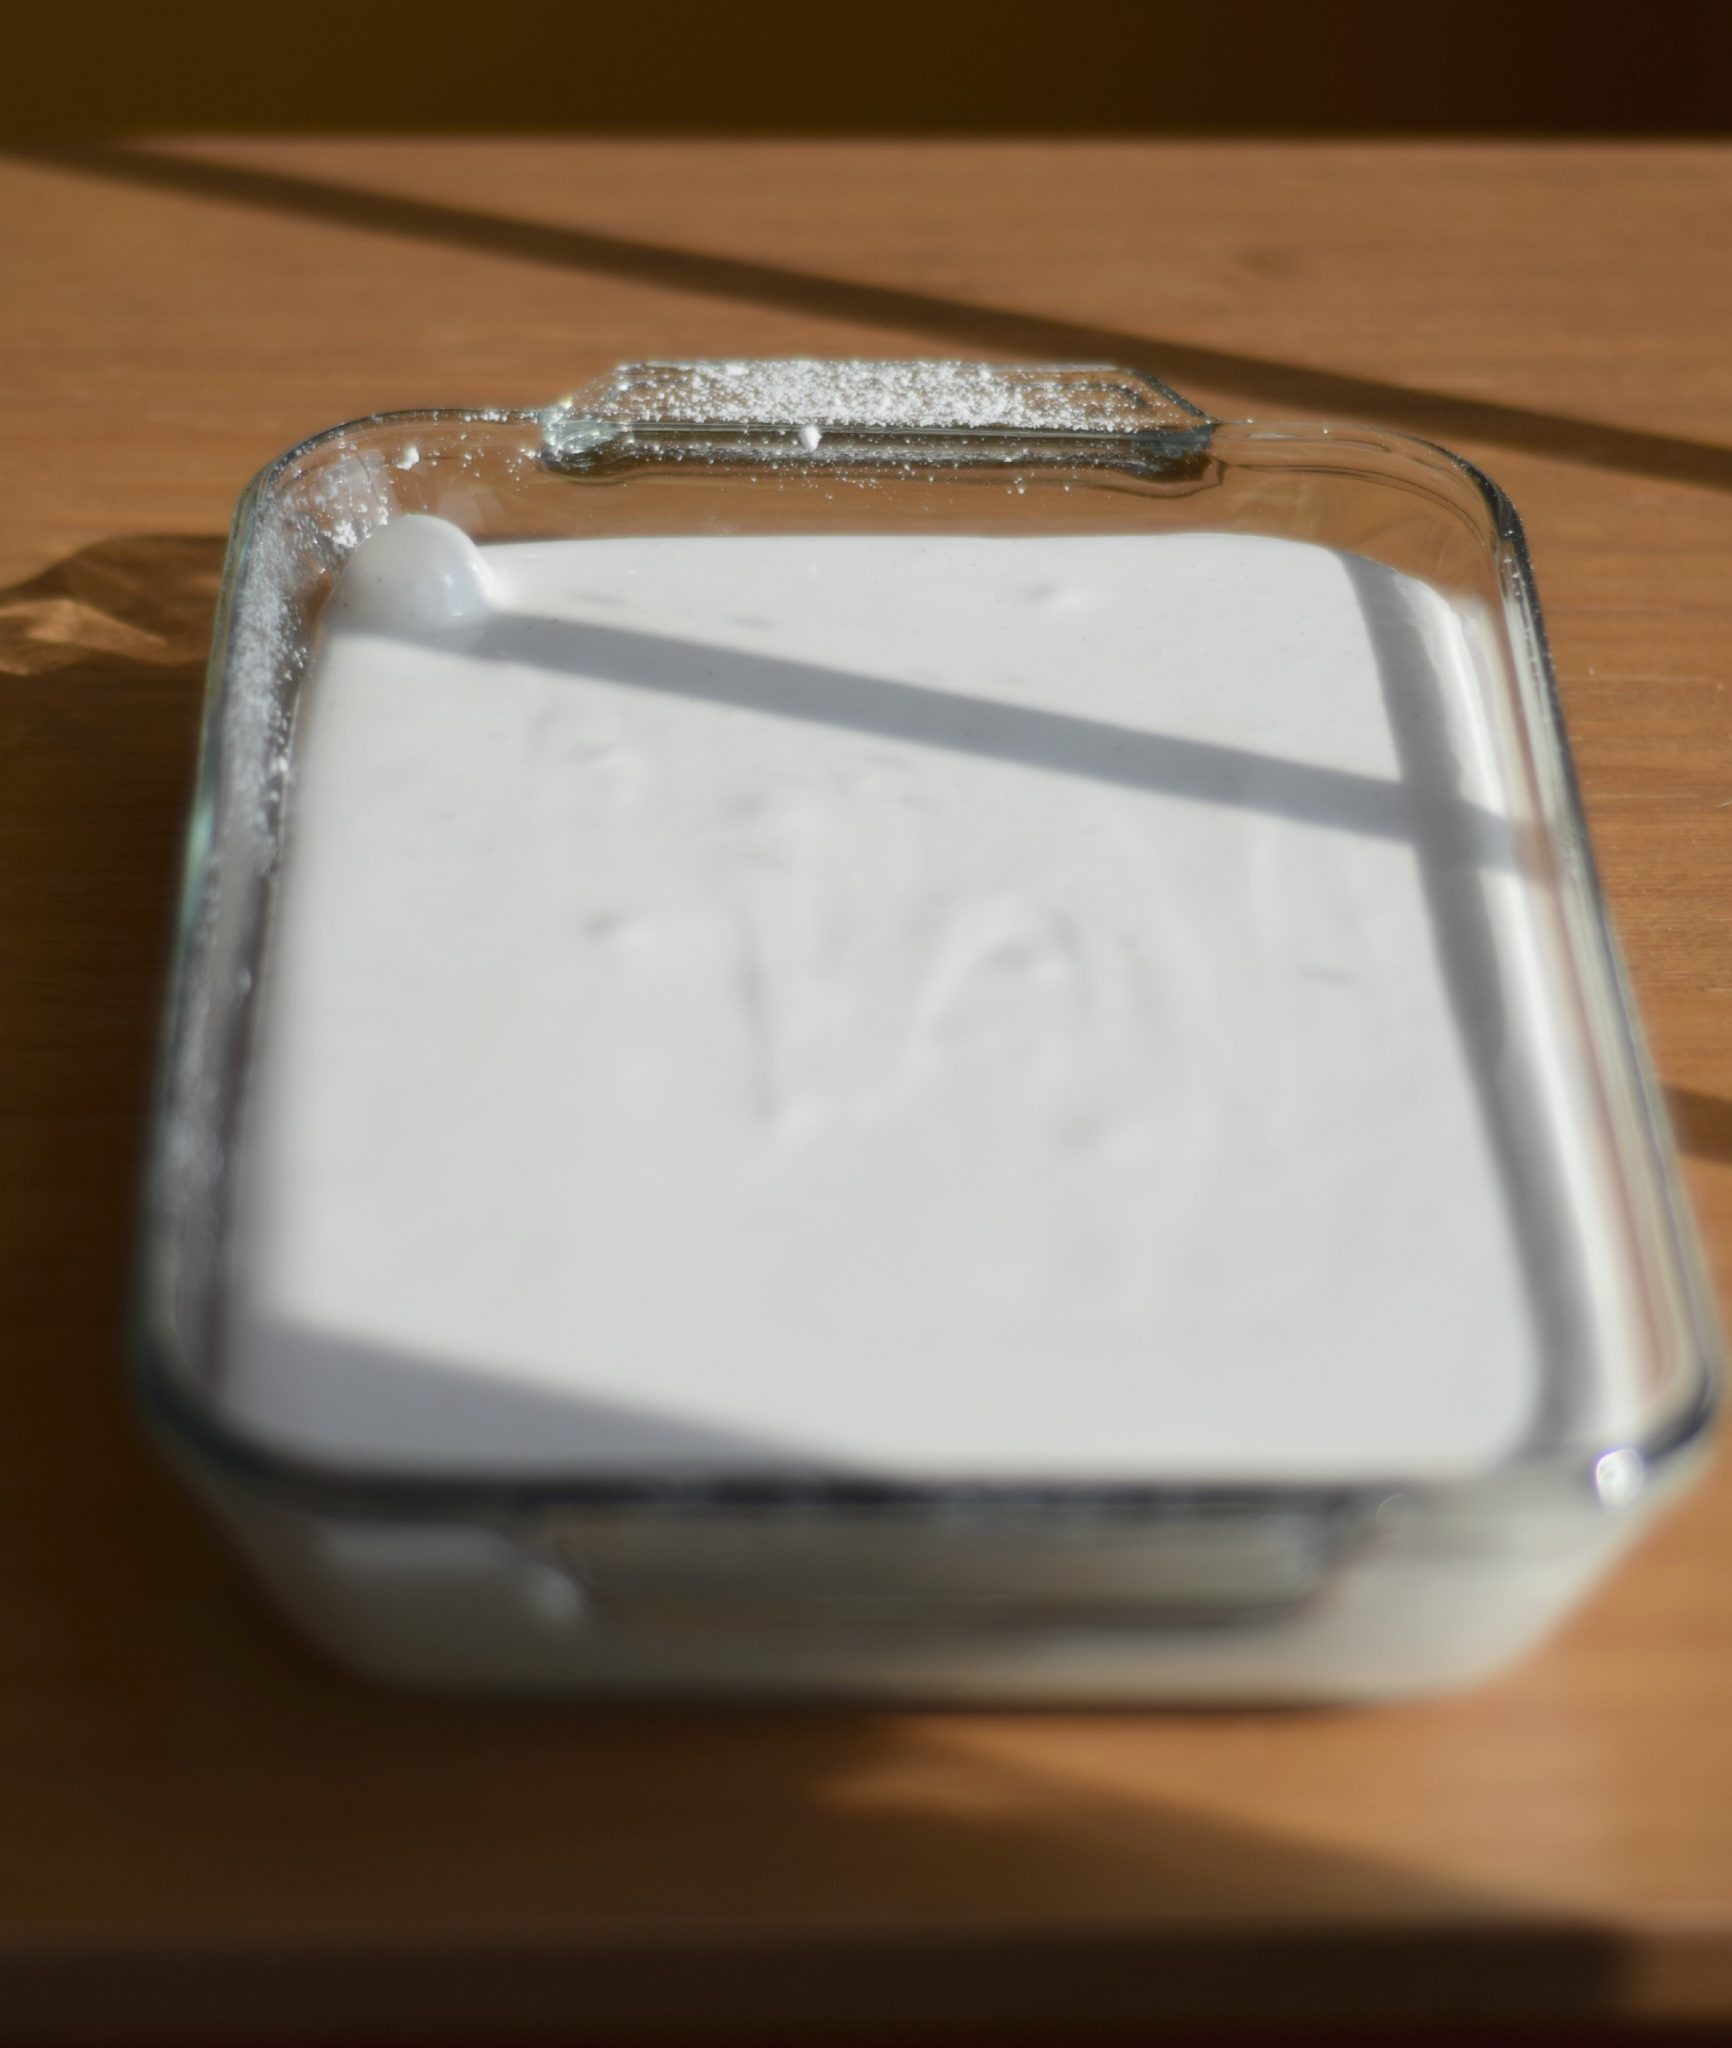
Turn out into a lightly floured surface and shape into a ball
-
Transfer to a lightly oiled or buttered bowl, turn dough to coat, cover with plastic wrap and let rise in a warm place for about 1 hour or until doubled in size
-
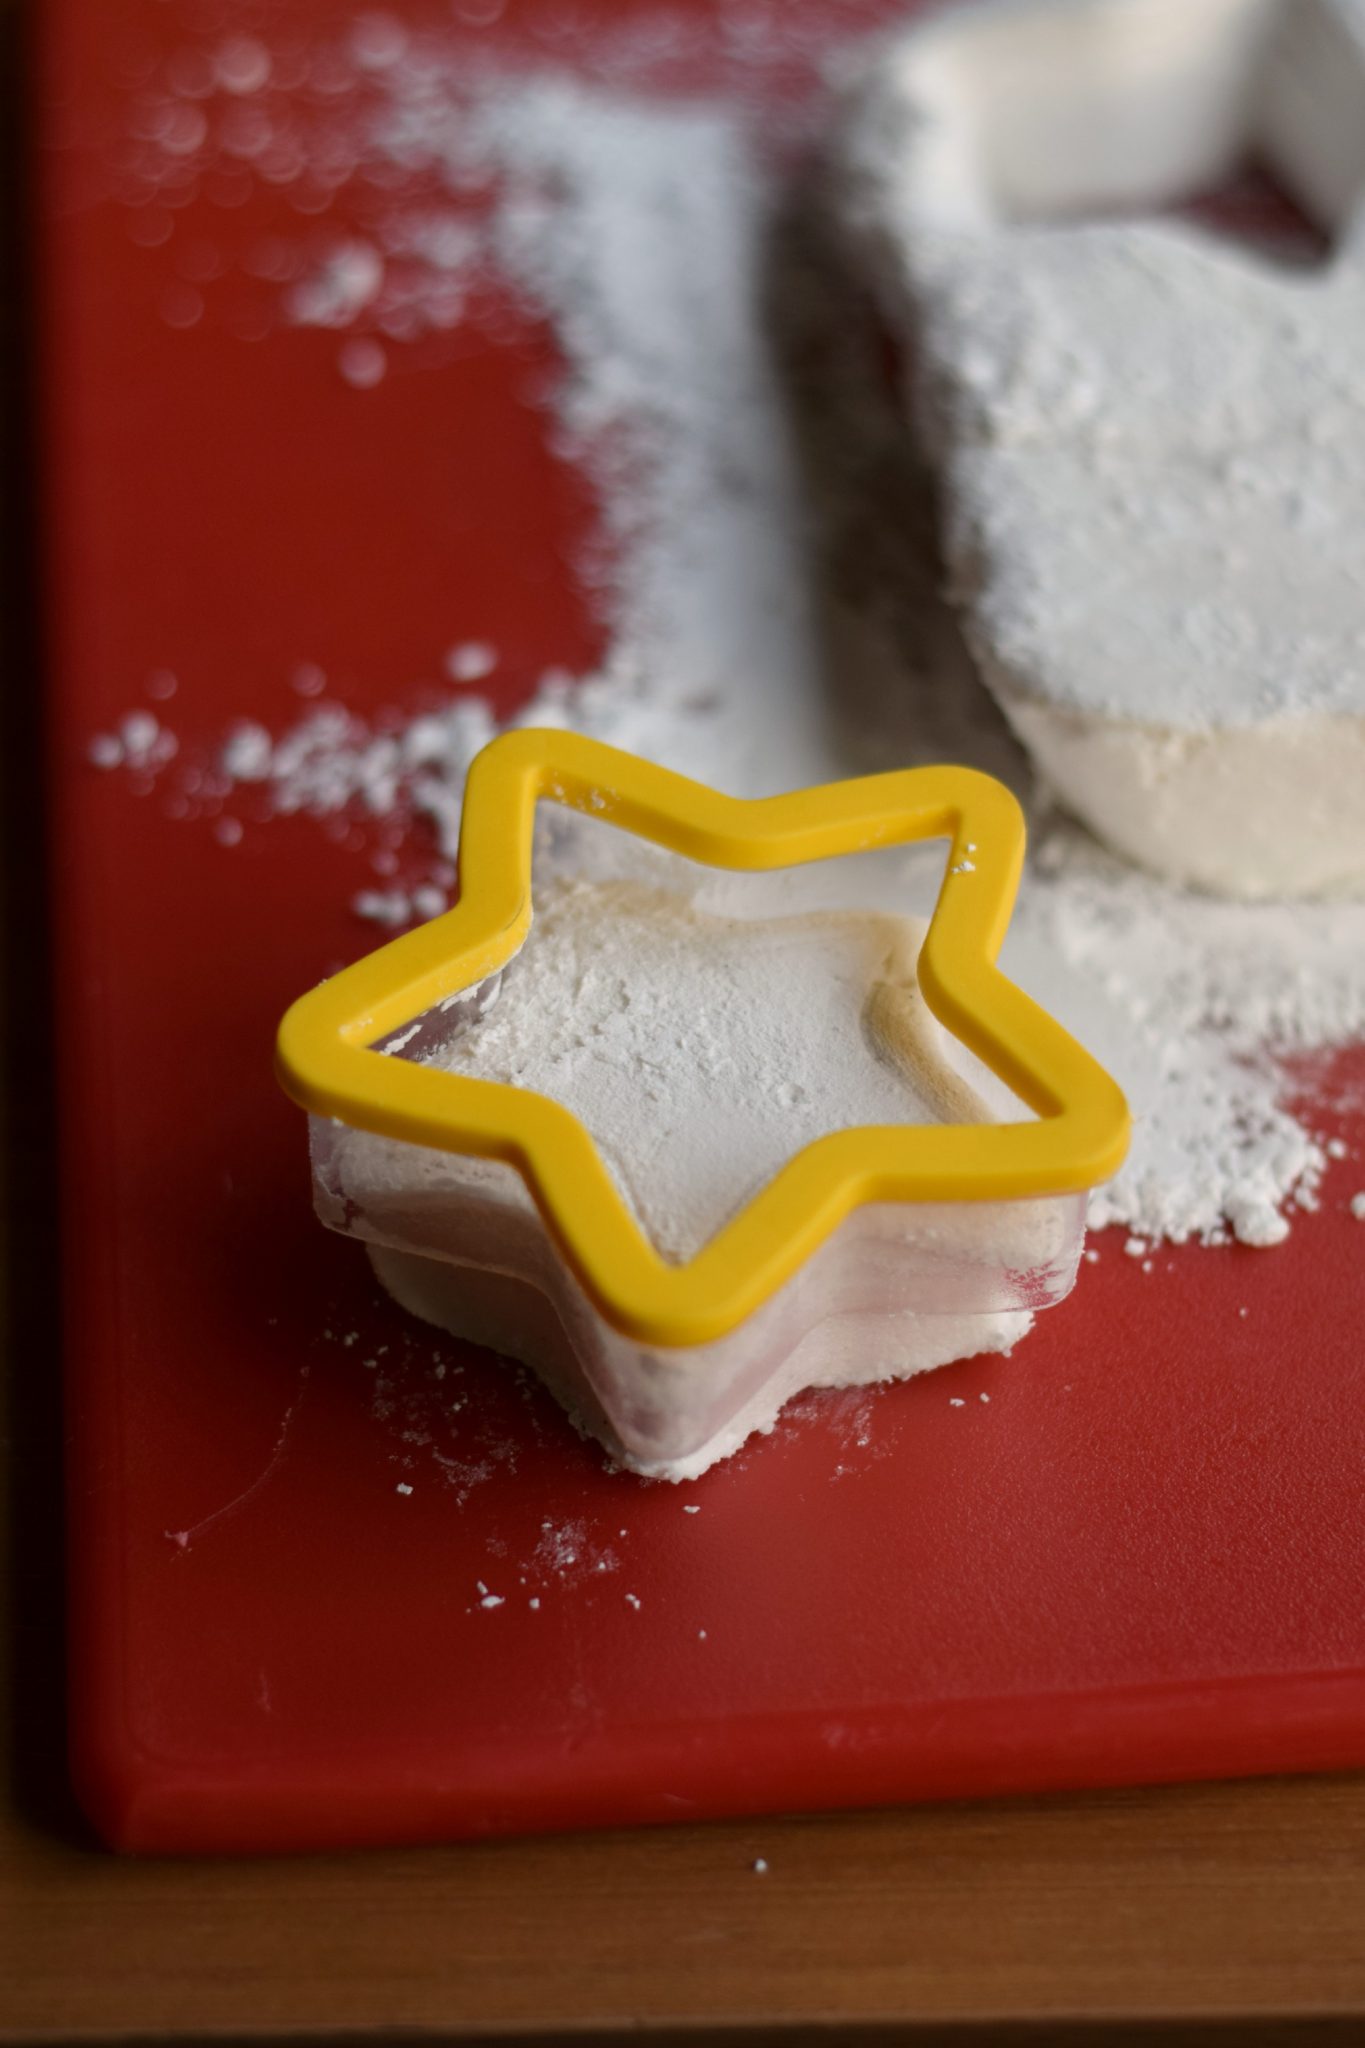
Punch dough down and divide in half, set aside and let rest for 10 - 15 minutes
-
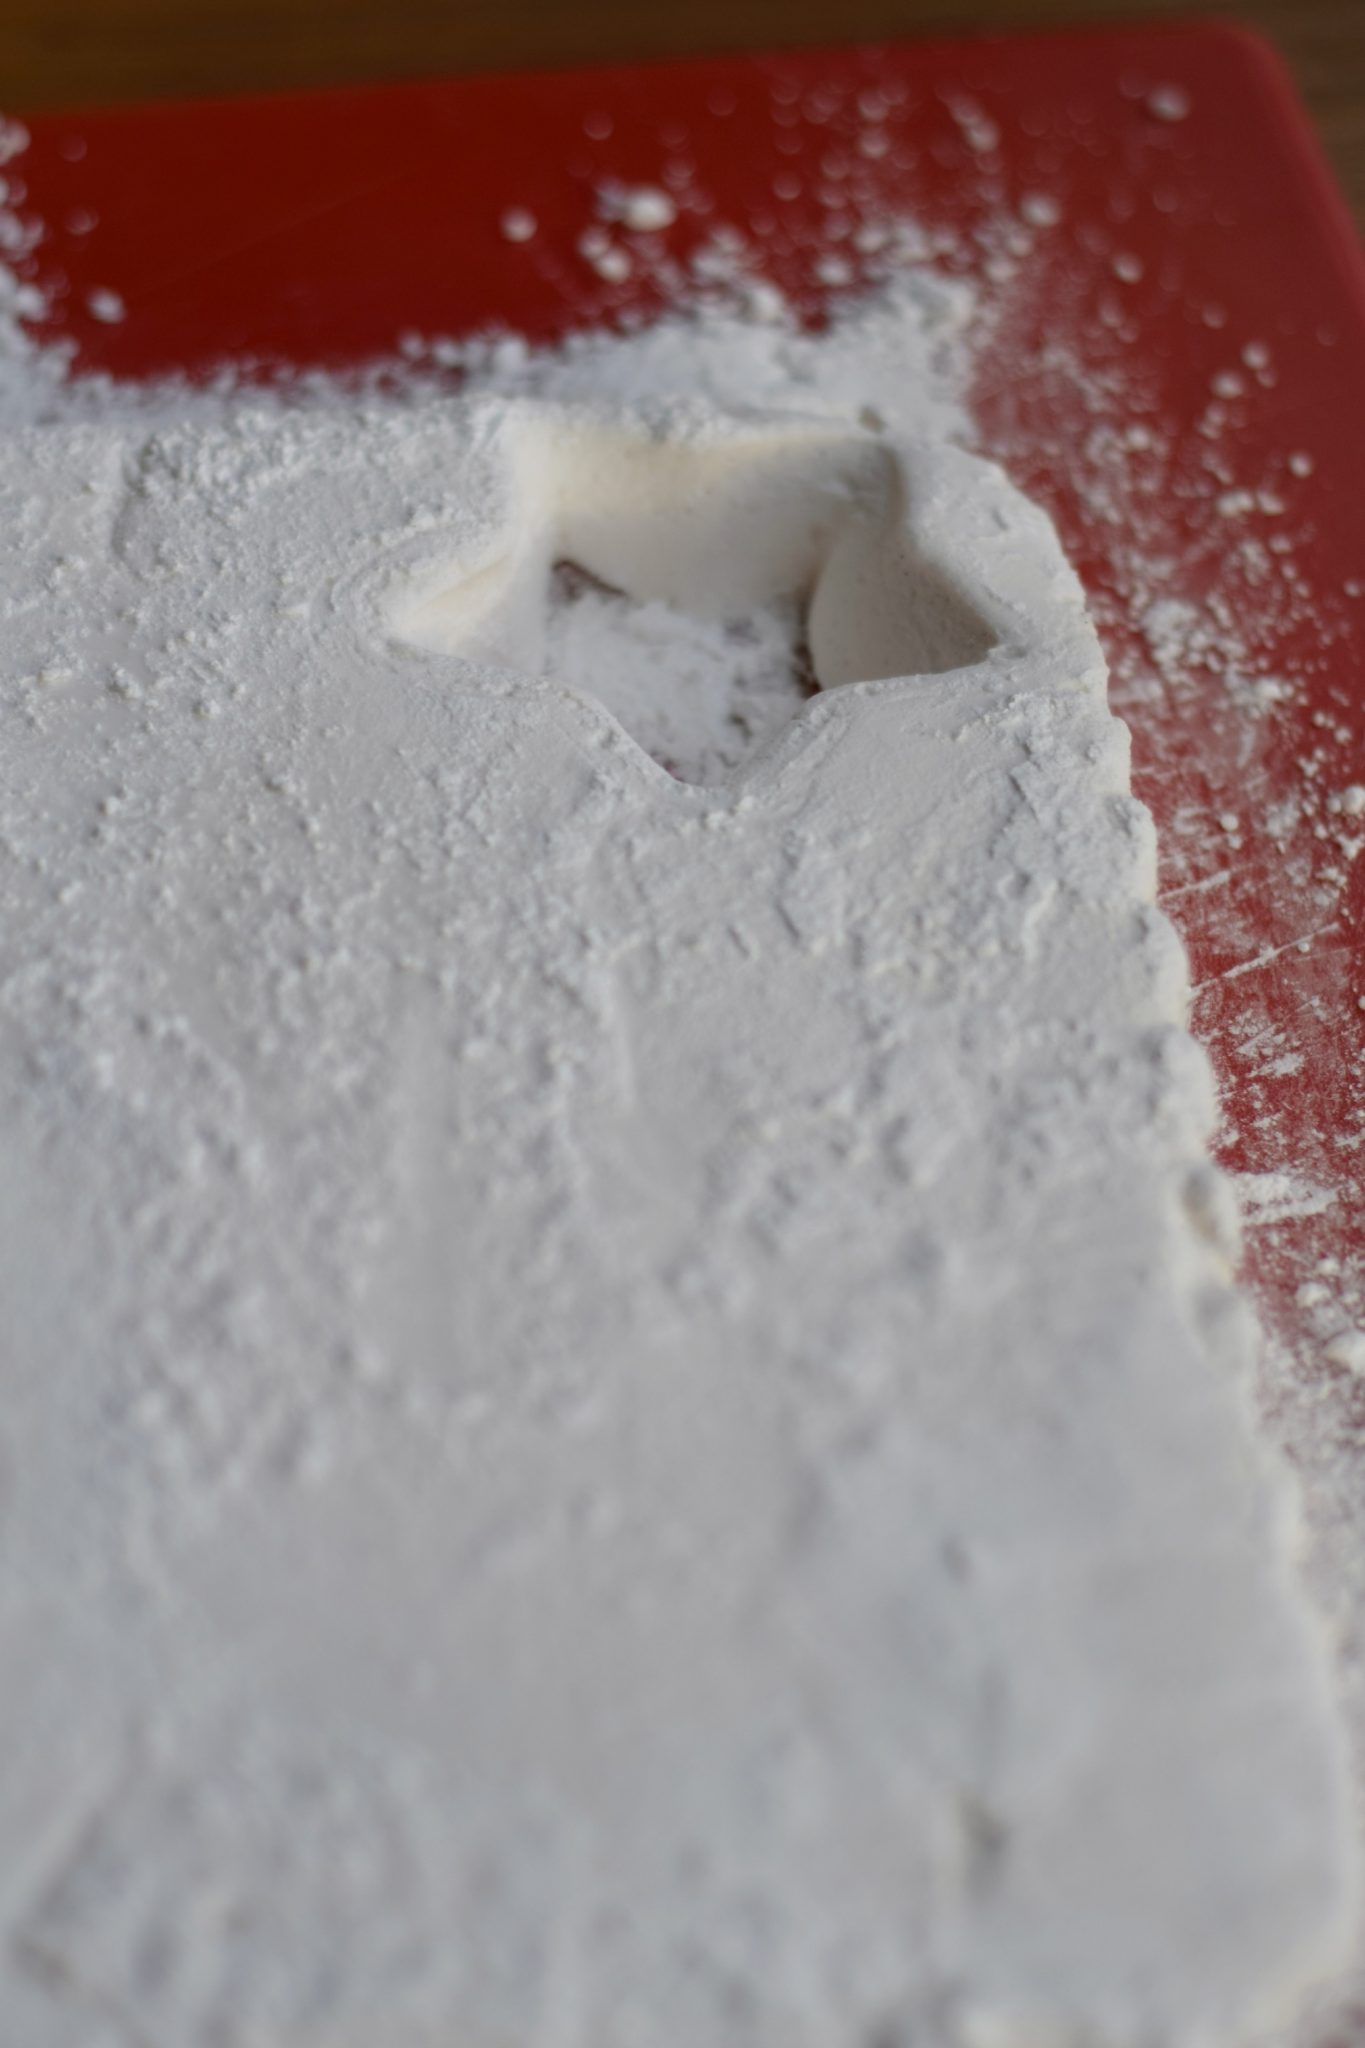
Roll one of the halves into a (approximate) 15 x 8 rectangle
-
Brush 1/2 of the melted butter over the entire rectangle
-
Combine sugar and cinnamon and sprinkle half over entire rectangle
-
Roll up fairly tightly from the long side and turn so seam is on the bottom
-
With a sharp knife or a piece of string slice into 15 equally sized pieces
-
Transfer to buttered 9 in cake pan
-
Repeat with other half of dough, butter, and cinnamon sugar
-
Cover pans and let rise in a warm place for 30 - 45 minutes or until double in size
-
While rolls are rising, preheat oven to 375
-
Bake 20 - 25 minutes
-
Combine powdered sugar and milk to make a glaze and pour over cinnamon rolls
-
Serve warm or at room temperature
NOTES:
- When making the glaze add the milk 1 tablespoon at a time until you have it as thick or as thin as you want. I like a thick glaze, but if you want to thin it out just keep adding milk until you get it where you want it to be – if so, you’ll need more than 4 tablespoons.
- These cinnamon rolls can be made ahead of time and kept in the freezer. I would recommend adding the glaze after they are reheated.

Christmas Ale Beer Cinnamon Rolls are a fun treat made from Christmas Ale full of cinnamon, nutmeg, cloves, and honey and a very vanilla bourbon finish | Beer Girl Cooks